Let's clone a game
Let’s clone a game
I’ve always wanted to make a game from scratch, just for the fun of it. I don’t have any good ideas for a new one, so I’m going to make a clone/tribute instead. The game I’ve chosen is a bit obscure to most people, as it is from the old Texas Instrument TI-99/4A computer. This was the first computer I ever used, back when I was just 6-7 years old. I have fond memories of sitting with my father, typing in Basic commands that I barely understood the meaning of, to create small visual effects on the screen.
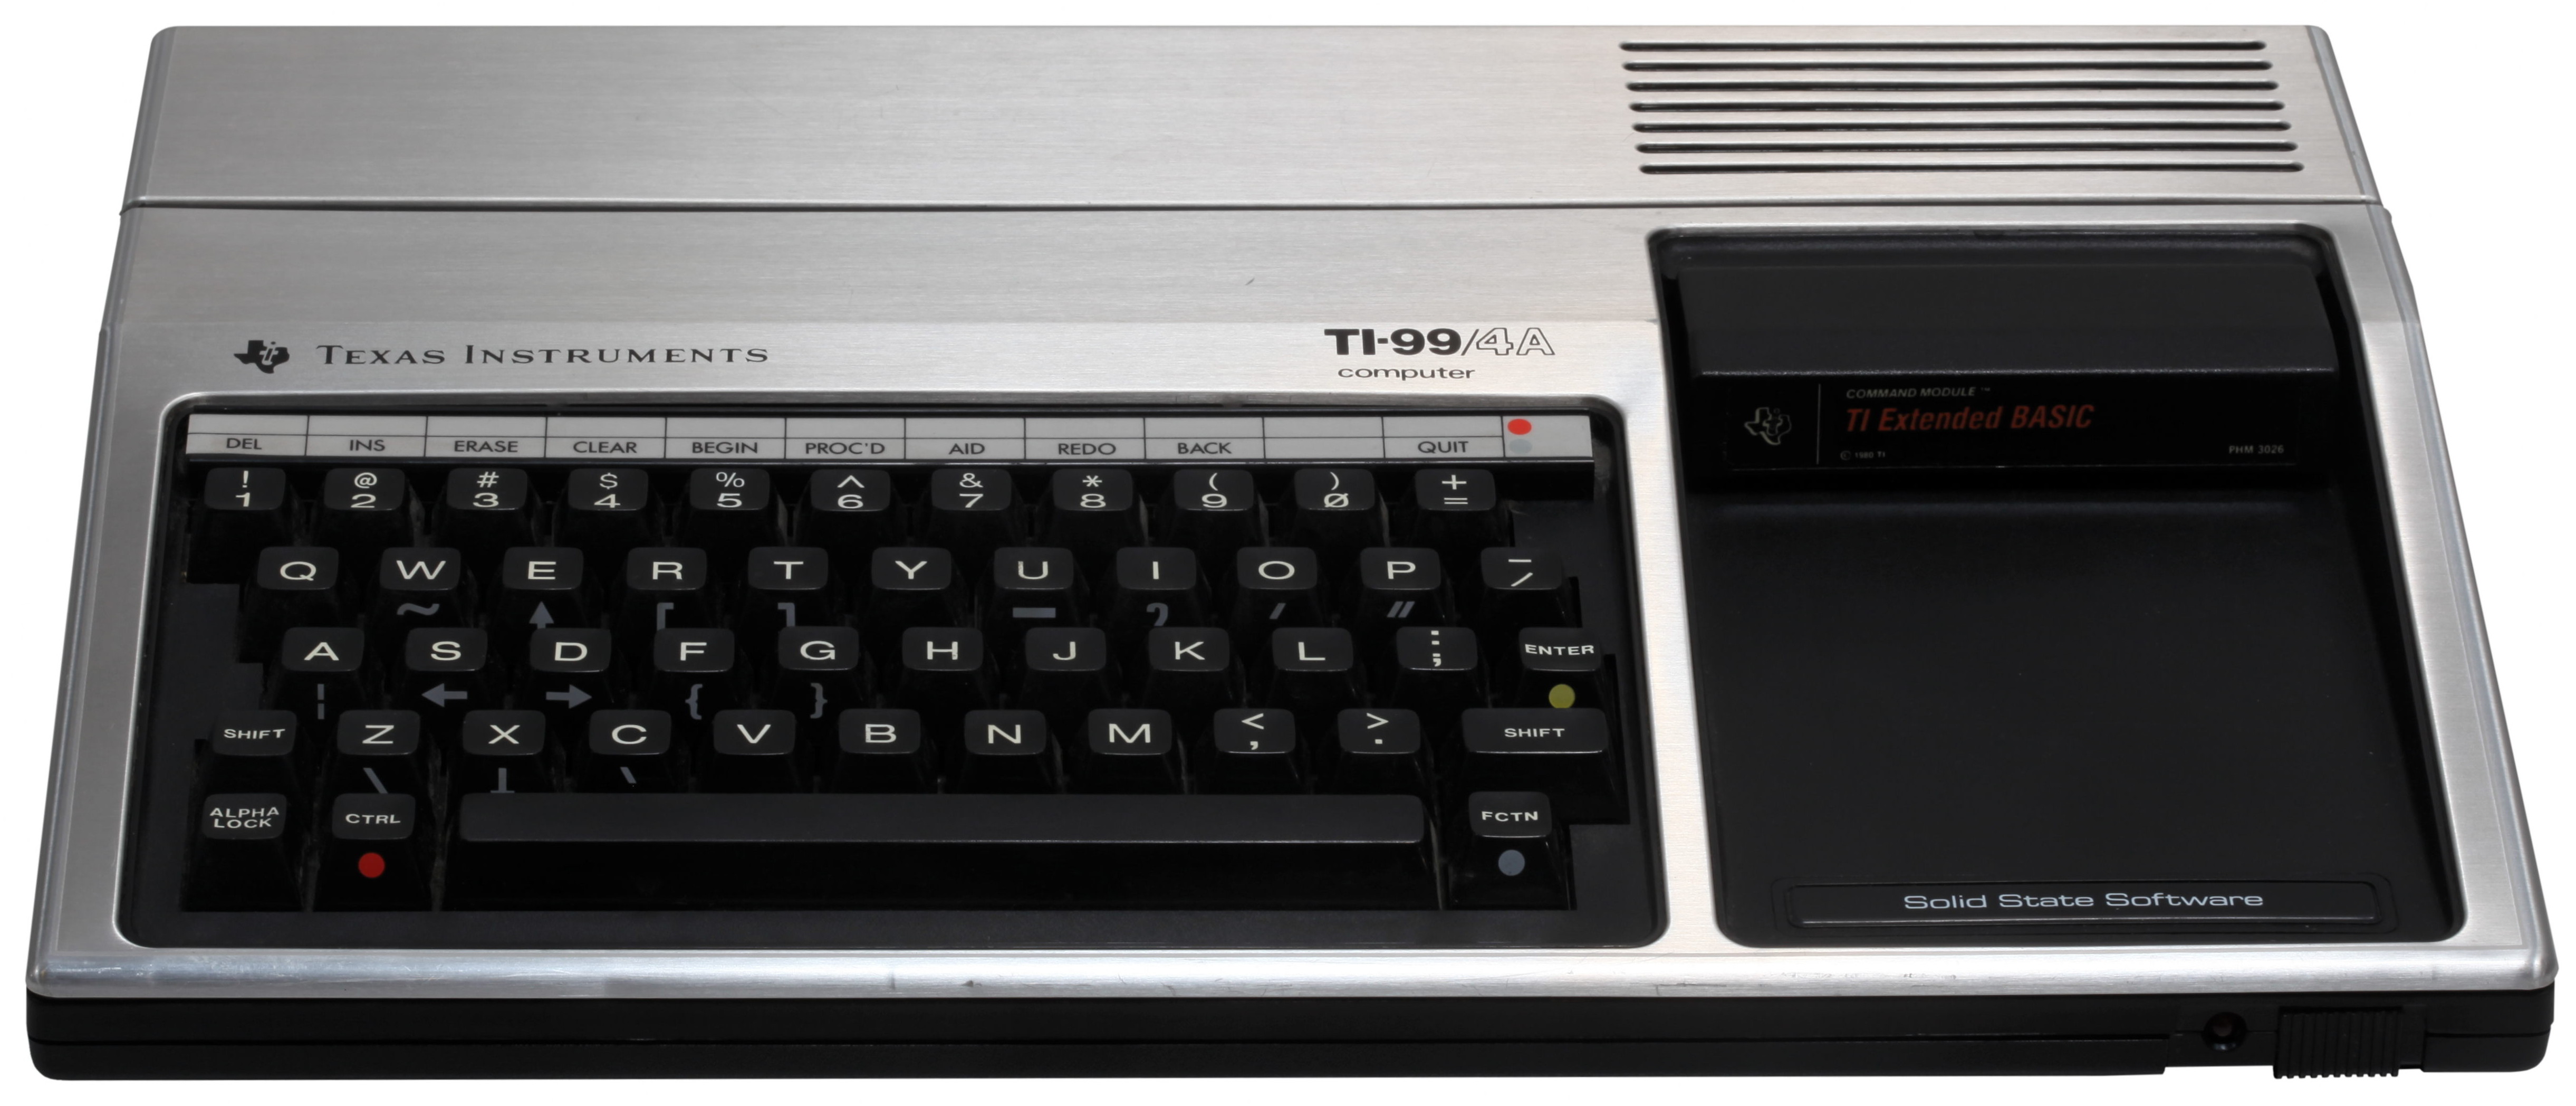
The TI-99/4A had a cartridge slot for games and applications, and we had two games with our machine: “TI Invaders” - A quite well made Space invaders clone, and “TI Parsec” - a side scrolling space shoot-em-up. This is the game I’ll be cloning.
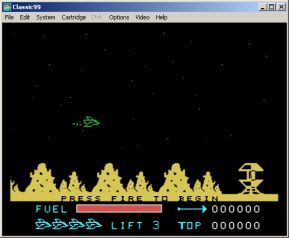
Those who want to experience the “real” thing can try out the Classic99 emulator, which includes the Parsec ROM under license from Texas Instruments. My version will deviate some from the original, this is a clone, not a reimplementation.
Quick tech overview
Quick look at the technology being used.
Language
I’ve chosen to write the game in Typescript. There are two reasons for this.
- Typescript is my main programming language at work these days, and this is an opportunity to get better at it, and try out new features of the language. I also really like the extensions it brings to javascript coding, even though many of these are now native in ES6.
- I want the game to run in a browser, which means the resulting output will need to be Javascript.
Libraries/frameworks used
Since I wanted to make this from scratch, I’ve so far skipped on using any libraries at all. This also helps keep the final code size to a minimum. I’ll need some sort of javascript bundler to bundle up the final code. While Webpack is most familiar to me, I am planning on using Parcel instead here, as the project is small enough to not need the advanced features of Webpack.
The game renders to a normal HTML canvas. Initially I’ll be using plain 2D canvas, but I’m considering 3D extensions too.
The basics
For a web game to have somewhere to be seen, we need a containing HTML page. This will be very simple:
<!DOCTYPE html>

<html lang="en">
  <head>
    <meta charset="utf-8" />
    <title>Parsec 2020</title>
    <link rel="stylesheet" href="src/parsec2020.css" type="text/css" />
    <script src="src/parsec2020.ts"></script>
  </head>

  <body>
    <div id="content">
      <canvas id="parsec" width="100" height="100"></canvas>
    </div>
  </body>
</html>
Yes, that’s it. There’s a wee bit of CSS, mostly to remove implicit padding in
the browser window. The rendering is done into the canvas named parsec. The
game code itself will be in the parsec2020.ts file.
Bundling
The browser does not understand Typescript code very well, so we need a bundler
to fix this. Managing these things is best done with npm or one of it’s
cousins, so it’s time to create a package.json. Side effect of this is the
ability to add dependencies in the future if wanted.
{
  "name": "parsec2020",
  "version": "1.0.0",
  "description": "Space shootemup inspired by TI Parsec",
  "main": "index.html",
  "scripts": {
    "start": "parcel index.html",
    "build": "parcel build index.html",
    "test": "echo \"Error: no test specified\" && exit 1"
  },
  "author": "Frank Oppervoll-Larsen",
  "license": "ISC",
  "devDependencies": {
    "parcel-bundler": "^1.12.4",
    "typescript": "^3.6.4"
  }
}
This defines our two dependencies so far, Parcel and Typescript. Both are
devDependencies and will not be included in the generated game files.
The main loop
To finish this introductory post with some code, let’s set up the games main loop. A game is typically rendered at 60 frames per second to ensure smooth animations. In the olden days, the game would animate using the screen redraw cycle, but today we’ll use built in browser functionality for this.
In the main loop we also make sure the canvas fills the entire browser window, and sets a transformation for a 640x480 pixel rendering area. This might not be the most efficient way of transforming this, but it’s likely enough for this game.
let lastTimestamp = 0;

function main(timestamp: number) {
  const delta = timestamp - lastTimestamp;
  lastTimestamp = timestamp;

  // We'll need the canvas context for rendering.
  const canvas = <HTMLCanvasElement>document.getElementById("parsec");
  const context = canvas.getContext("2d", { alpha: false });

  // Fill the screen, always set the width, this trick clears the canvas
  canvas.width = document.body.clientWidth;
  if (canvas.height != document.documentElement.clientHeight) {
    canvas.height = document.documentElement.clientHeight;
  }

  // Set context transformation. This let us operate with a simpler 640x480
  // coordinate system.
  context.setTransform(canvas.width / 640, 0, 0, canvas.height / 480, 0, 0);

  // Update the game state...
  updateGameState(timestamp, delta);
  // ...then render the scene
  renderer(context);

  // Finally, request the next animation frame
  window.requestAnimationFrame(main);
}

// Start the main loop when we're done loading the page
window.onload = () => {
  window.requestAnimationFrame(main);
};
That’s it for the main loop. On each invocation the current timestamp is passed, which I’m using to calculate the current delta since the last render. This will let us calculate position changes without assuming the 60fps clock is accurate.
Inside the renderer we can now add logic to render the actual scene. Let’s
start with the background stars/space debris floating past. We also introduce
the updateGameState function, which tracks the movement of debris.
let stars: { x: number; y: number; speed: number }[] = [];
function renderer(context: CanvasRenderingContext2D) {
  context.fillStyle = "#000000";
  context.fillRect(0, 0, 640, 480);

  context.fillStyle = "#cccccc";
  stars.forEach(star => context.fillRect(star.x, star.y, 2, 2));
}

function updateGameState(timestamp: number, delta: number) {
  if (stars.length === 0) {
    // Initial run, let's create some stars
    for (let i = 0; i < 100; i++) {
      stars.push({
        x: Math.random() * 640,
        y: Math.random() * 400,
        speed: Math.random() * -200
      });
    }
  }

  // Update the stars
  stars = stars.map(star => {
    const newX = star.x + (star.speed * delta) / 1000;
    return { ...star, x: newX > 0 ? newX : 640 };
  });
}
The resulting code ends up like this:
See the Pen Parsec Introduction by Frank Oppervoll-Larsen (@crazyfraggle) on CodePen.
Wrapping up
That is really all there is to it to make a simple animation loop. Next we’ll start adding some game logic, but that’s for the next post.
Footnote
I originally started writing this in 2017. 3 years to finish such a short post
must be some kind of record. The game itself has been stopped and restarted a
few times, including a misguided attempt at using Redux to hold the game
state. More on that when we get to the state.